This was a sight-seeing tour with a difference. When booking up your holiday you'd seen the rooftop tour add-on and signed up for it straight away. The tour was supposed to take you to places few tourists went - along the rooftops of the old town - and offer amazing views.
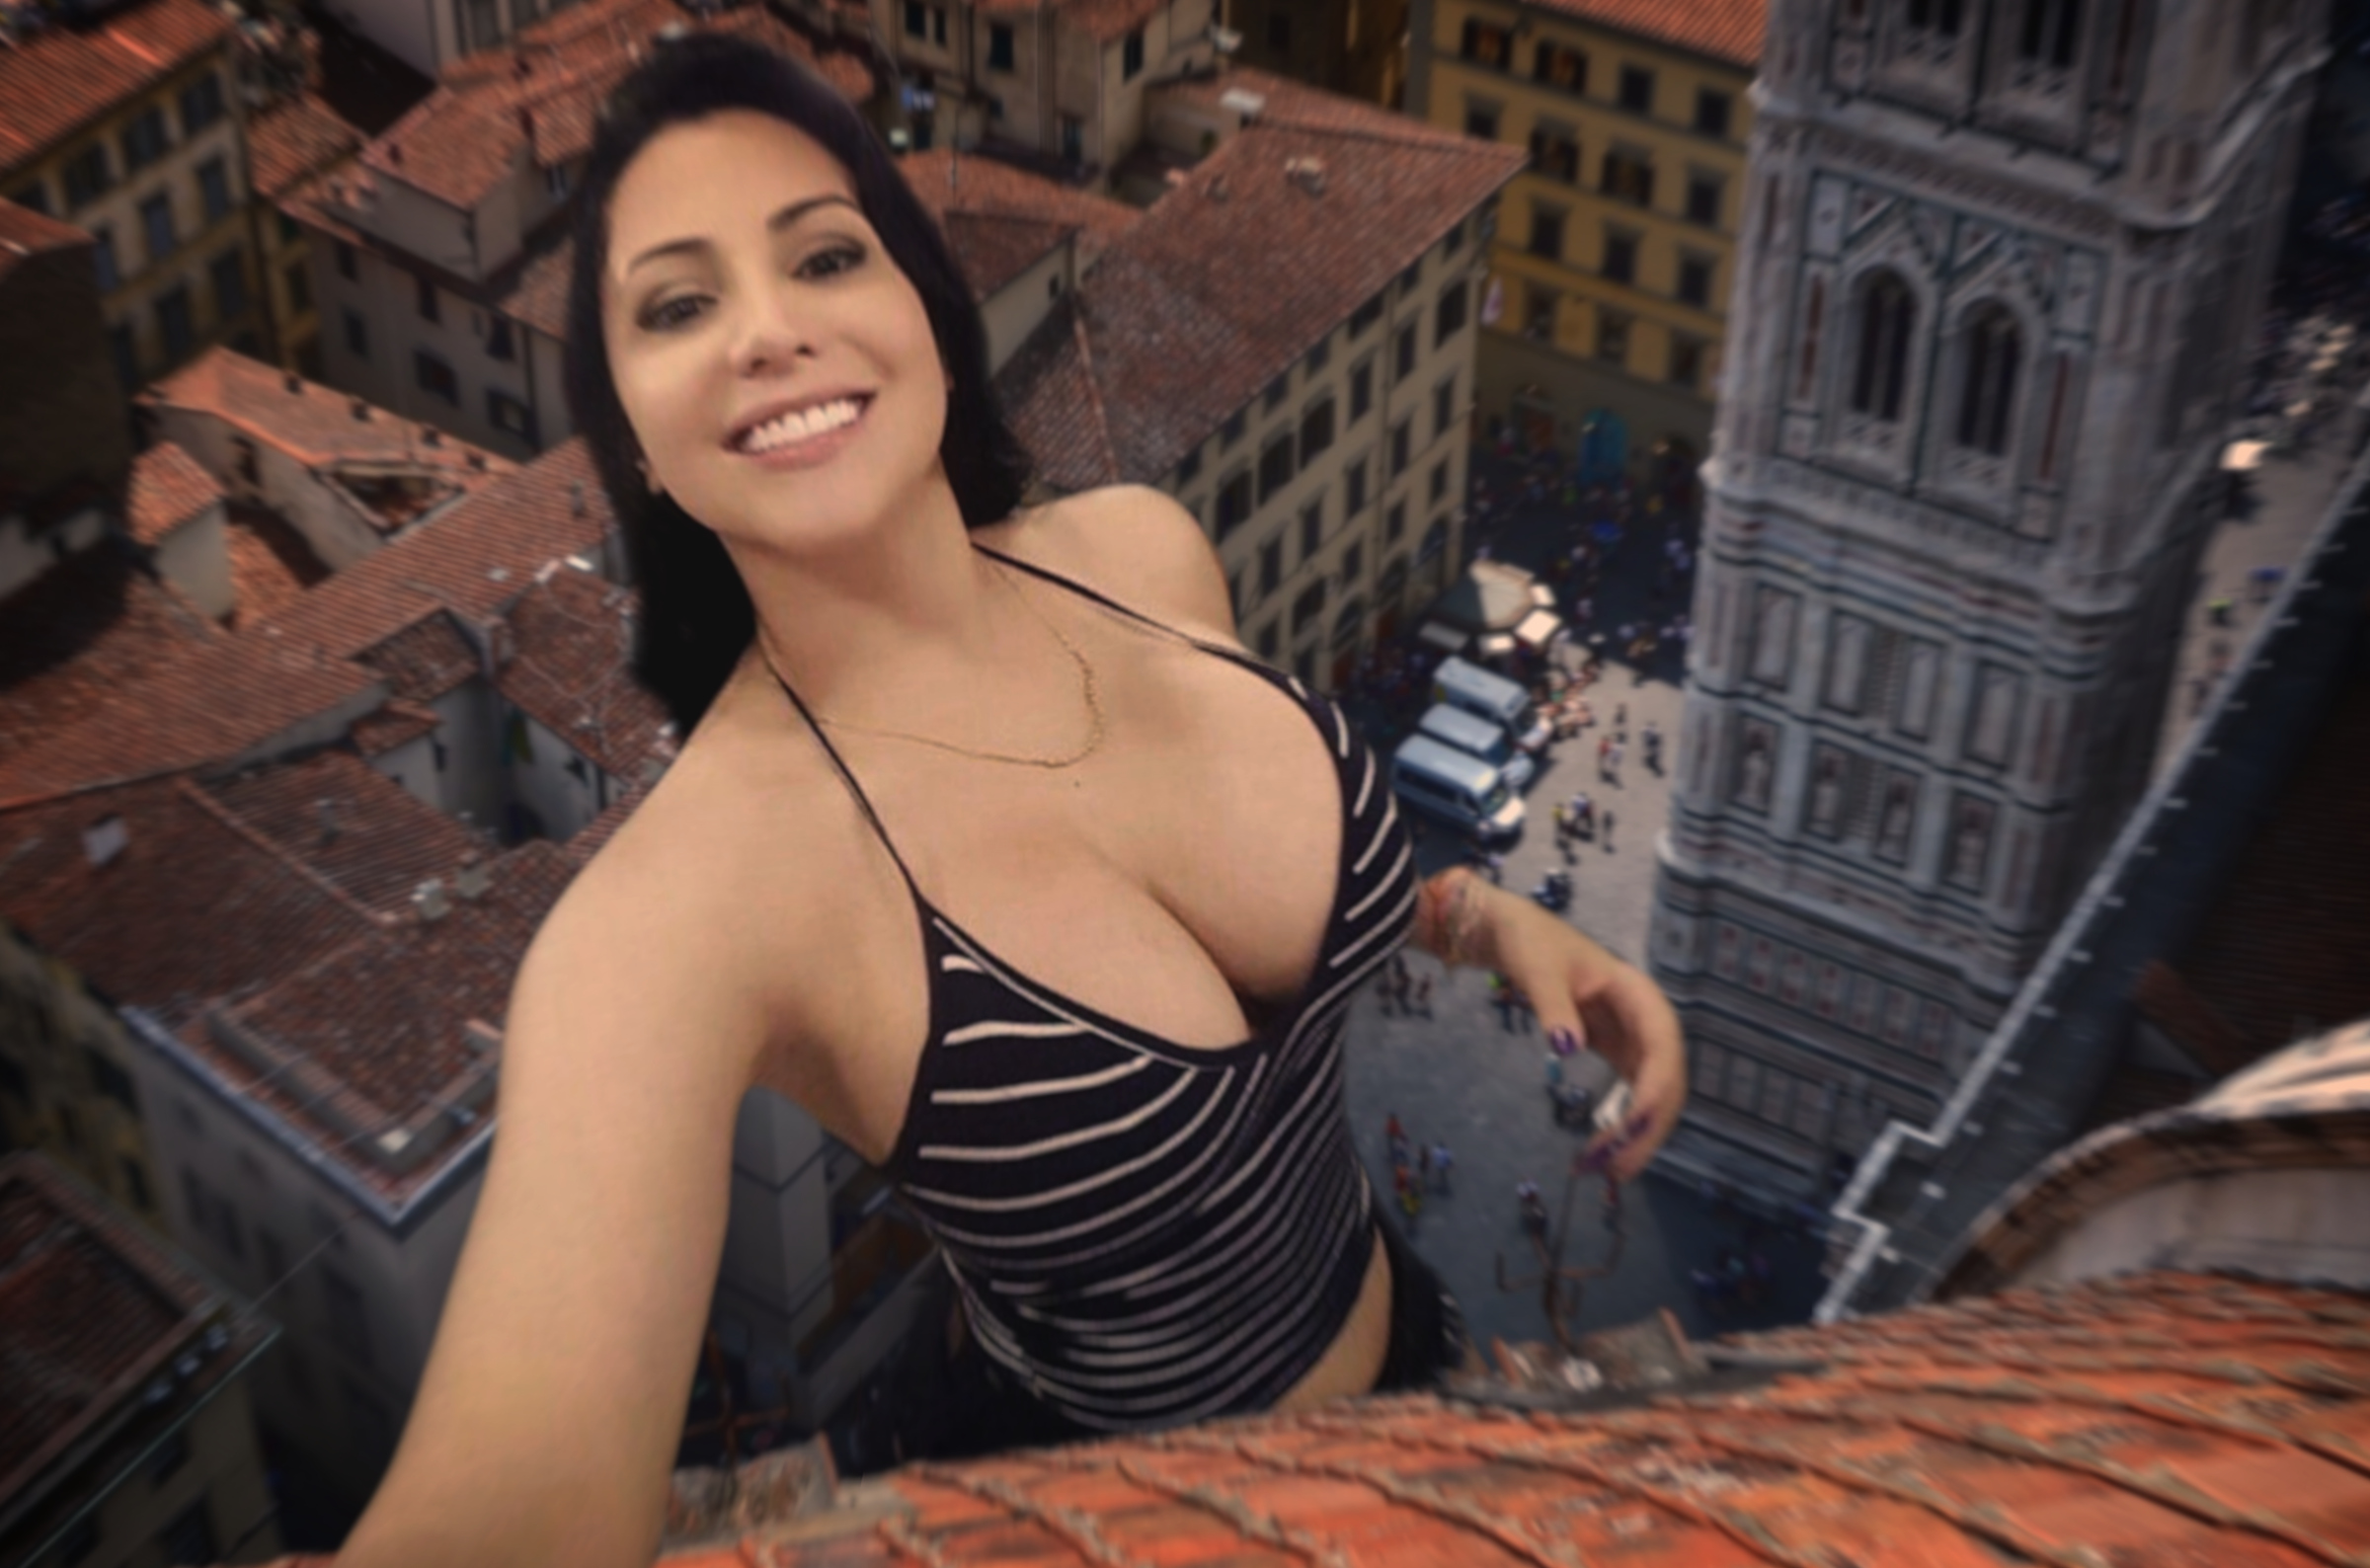
Now that you were here you had to admit the views were amazing, especially the one down the cleavage of the busty giant woman walking beneath you. No one had mentioned a giant woman lived in the town when you booked up but she must have been there a while as the little people below instinctively stood out of her way as she went by.
She was distracted, talking to some tiny person below, so you were taking advantage of the situation and taking a long look down her top. Your tour group moved on but you were transfixed by the giant woman's cavernous cleavage. Suddenly the tiny person below pointed up towards you and the giant woman turned round and fixed you with a stern glare. You were nearly blown off the roof by the angry torrent of words you didn't understand. She paused, as if waiting for you to reply but you didn't know the language here and so just stared back at her in fear.
After a few moments of uncomfortable silence she spoke to you, much calmer now, in a thick accent, "You a tourist here?"
You nodded sheepishly.
"What are you doing up there spying on me huh?"
She threw up her hands as she spoke with great emotion - given that each one was bigger than you it was quite an intimidating display.
"I'm just on a rooftop tour!" you answered.
"Oh yeah, where's the rest of you?" she pointed out.
It was only now you realised you'd been left behind.
"Oh, they were here." you said aloud as you realised.
"Uh-huh." said the giantess raising an eyebrow, "you would like me to believe that huh?"
"It's true!" you protested.
She didn't look impressed with your excuse so you tried to back it up, "We came up here to see the sights of the town."
"Such as?" she quizzed you. Luckily you had been paying keen attention to the tour guide until the giantess came along so you were able to list all the places on your tour. The giantess appeared to mellow when you showed your local knowledge.
"Ok ok, seems like maybe you were on a tour." she conceded - before asking, "So, what do you think of our little town?"
"Oh its beautiful" you gushed.
This seemed to be the right answer as the giantess treated you to a smile. She was obviously very proud of her town.
"That's good to hear. Its nice when someone takes the time to really learn and enjoy our town."
She smiled, considering you for a bit while you stared back at her beautiful and big face.
The giantess broke the comfortable silence between the two of you, "Oh, you need to catch up with your group!"
"Oh yeah..."
"Did they say were they were going next?" she asked, before adding with a cheeky smile; "I could give you a lift over."
"No idea." you confessed, "I got a bit distracted."
She gave you a playful smile, "Oh yeah, what by?"
"By a beautiful sight."
The giantess treated you to her widest smile yet - then reached towards you.
You felt her strong fingers wrap around your body.
"Come on little man, let me show you the real sights."
Meta: I've hit on a process which seems to work quite nicely now for making these collages.
1) Get the model's photo and try to upscale with Zyro AI upscaler - if it comes out weird just leave as is.
2) Remove the background from the model's shot with Zyro background remover (you may need to manually edit the cutout and re-add bits in from the original that the tool cuts out by accident).
3) Open the transparent model PNG in an image editor, select the background (and don't forget to feather the selection).
4) Place the model shot as the layer on background and scale down to fit.
5) Adjust contrast and brightness of model to match photo.
6) Repeat these 2 next steps until the saturations match:
6a) Reduce saturation of model slightly.
6b) Reduce saturation of the background slightly.
7) Select elements from background you want in front of the model, copy them and paste them on top as new layers.
8) Feather the edges on the cut-outs.
9) Paste in any other foreground elements you want to add as layers. This can include destruction effects - I often find these with DuckDuckGo's image search and set the image type to 'transparent'.
10) Adjust contrast, brightness, saturations of added foreground elements to match background and model - don't forget to feather edges if needed.
11) Select elements from the model you want in front of the foreground elements (such as fingers when holding something), copy them and paste them on top as new layers - don't forget to feather edges again.
12) Add a new layer behind the model and draw a shadow (you can cheat sometimes and select the outline of the model, fill the selection on the new layer, then deform the layer with something like GIMP's perspective tool to match the environment.)
13) Blur the shadow and make the layer appropriately transparent.
14) For reflections you can hide the background, then 'copy visible' (ctrl+shift+c in GIMP) and paste as a new layer. Flip the new layer as appropriate, move to where it should reflect and erase parts not reflected. Adjust the brightness and contrast to make sure the reflection matches the brightness of the surface (if nothing else is already reflected in the surface you could get away with just adjusting the transparency). Apply a slight blur and possibly ripples if its in water (ripples should be set to have a high frequency, low amplitude and the correct angle).
15) 'Copy visible' the complete collage and paste as a new image.
16) Crop to just the content you want.
17) Export as jpg.
18) Upscale with Zyro AI upscaler - if it comes out weird then continue with the exported jpg.
19) Import upscaled image into editor and apply a bloom effect.
20) Then apply a zoom filter focussing on the collage's focus (like the giantess' face... or bust). Keep the zoom blur minimal, just enough to cover any rough cropping.
21) Try a few instragram filters, you can get these as plugins for GIMP - I normally pick one from between 1977, Lofi, Walden or (in rare cases) X-Pro II.
22) Once you've found the best looking filter keep it on and remove the layers containing the borders it adds.
23) Flatten the image.
24) Export as jpg.
Of course the biggest part of this is before you start finding the model shot and background shot with compatible perspectives. There's always some extra steps depending on the shots used (such as tidying up edges with a rubber using the smear tool to fill gaps).
|